Wednesday, June 30, 2010

Seashell Lamp


Tonight I'm linking to http://www.lifeaslori.blogspot.com/ to show this lamp.


I have to confess that this is not a recently made item. I hate to say just how old it is, but it does prove that I've been a crafting type of person for most of my life (and I'm 51!). The glass hurricane shell was found at a Pier 1 a gazillion years ago. The wooden base & top were made by a friend. The shells are my shell collection - most I found but there are a number of shells in the lamp that were given to me by friends as they picked up shells for me during their travels. This lamp shade ... I've NEVER found a lamp shade for this lamp that I've been pleased with - this is probably the 8th or 9th shade.


So? Got any ideas for a lamp shade that would really make this lamp shine?

A Very Special Quilt


A friend of mine teaches kindergarten. She loves for folks to come to her classroom to work with the kids on a craft project or read to them.
I asked her to have the children draw anything they wanted then I transferred those drawings onto 15" square pieces of muslin fabric. I took the fabric drawings and fabric paints to the classroom one day and let each child paint their drawing. They also "signed" their block. The teacher, assistant and myself also made blocks.
My friend's name is Melissa Britner and her students are called "Britner's Bees". I found this fabulous green fabric with bees on it and decided it would have to be used somewhere in the quilt. I stitched together the blocks and used the bee fabric on the borders and binding.
Melissa is a natural teacher. She is in her element in the classroom and truly loves what she does - and it shows. How many folks in this world are lucky enough to be doing exactly what they were meant to do?
I wish you could have seen the expressions on the childrens' faces when that finished quilt was presented to the classroom. The kids were so proud to see their work of art incorporated into the quilt and couldn't wait to show it off to their parents.

Tuesday, June 29, 2010

Kaleidescope Quilts

These are fascinating creatures to me. Even though you carefully choose the area of the fabric you are going to cut and try to envision what it will look like, until the plate is together you're not quite sure what you have.


This one is called Under The Sea (after the fabric). The little fishes swimming towards the block centers or around the edge, as well as the seahorses, was an unintended but exciting effect.


This is a small table square. I love this fabric and how it looks as a kaleidescope quilt but I think it's that little line of piping that really sets it off. This was my first kaleidescope piece and I went kaleidescope crazy after that for a while. This one is called Cherry Blossoms.


This piece is called Summer's Kaleidescope.


And this one is called Freeze Frame. On these last two I used the piping again. The piping is so incredibly fast and easy to do and gives a big bang for the buck.

Monday, June 28, 2010

My Design Floor


I sort of have a design wall - I don't have a lot of wall space in my craft/cat/crap room so I just bought a big piece of white flannel and have that tacked up on the wall. It works pretty good and is easy to take down whenever I want to.


But sometimes I need more space than the quasi-design wall affords, so I vacuum and Swifter the floor in the living room, move some of the furniture out of the way, and use the floor space as a "design floor". It works good, too, except for when the puppy decides to chase the cat and runs across the carefully laid out blocks which then go flying ...
Tonight I made the little bugger go outside while I laid out this quilt. Don't you just love how versatile the simple 9-patch is? My mother's first question was "why aren't all of the blocks 9-patches? Why are some solid?" Well, it's because of poor math skills on my part; I didn't purchase enough of the shirting fabrics and now the shop is sold out. So, I'm being flexible and innovative out of necessity.
This quilt will end up on my bed for the cat to wallow on. I'd rather him shed on this instead of my really good quilts ...

PatchworkTimes.com

I linked to www.patchworktimes.com today to show the black & white foundation paper pieced project I have going to and to see the fabulous projects other quilters have in progress. As if I didn't already have enough quilting, now I have several more ideas ...

Sunday, June 27, 2010

Sunburst quilt block


It's really the Maryland star from Carol Doak's book but I'm using yellow and white to try to achieve a sunburst effect. So far, I'm quite pleased with the way this has turned out. While doing the initial block I discovered that pieces 1 and 2 are a bit persnickity so I've made a mental note to be especially careful with them. Otherwise, it goes together quite nicely. This will be a lapsize quilt - 9 or 12 blocks, am still deciding. I will use a very thin yellow border, and a little bit wider white border and white binding. What do you think? The name of this quilt will be "Sunshine".

Saturday, June 26, 2010

Black & White - Foundation Paper Piecing

I love the preciseness you get with foundation paper piecing. This is the Indiana star from Carol Doak's book about the 50 stars of the 50 states. In the book the star points are done in blues & pinks on a black background and the outer background is a floral print.
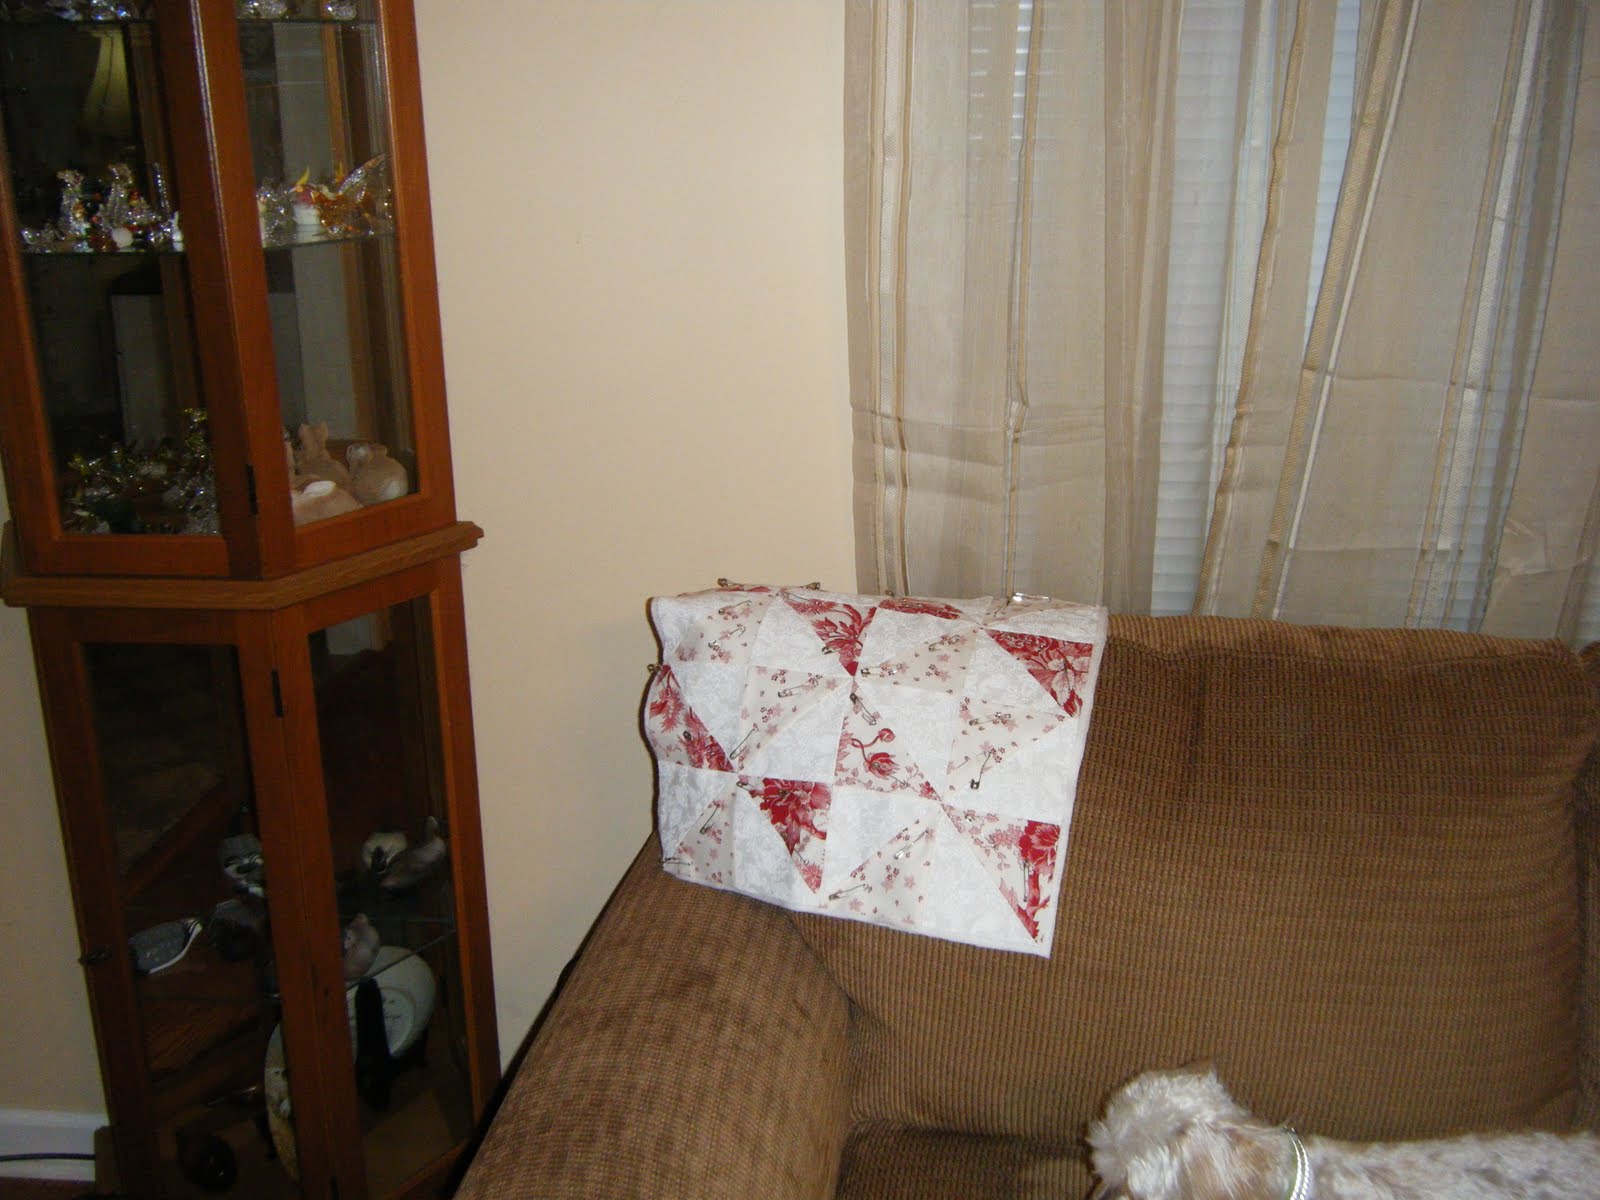
Lately I've been playing with using only 2 colors in quilts as opposed to the rainbow I typically use. I am enchanted by this black & white rendition of the Indiana star. It's difficult to see in the photo, but the white star points appear to be floating in the black background. The white fabric and black fabric are tone on tone. At Cotton Fields Lori had so many black & white print fabrics to choose from, it took me a while to make the decision to use this one for the outside pieces and I'm pleased with the selection.
This will be a lap-size quilt with either 9 or 12 blocks - I'm going to play that part by ear. It will be named "Night & Day".
I am very particular in the way I approach foundation paper piecing. I cut the fabric pieces for one block and audition it to make sure I like it because it takes 1.5 - 2.0 hours to make a block like the one in this photo, so even a small quilt is going to have a lot of time in it. This is the perfect time to find the potential quirks of particular blocks. This block happened to go together very nicely. The fabric cutting measurements given in the book for each piece are accurate. It's best to make sure of this on one block rather than cutting the fabric for 12 or more before finding out that one piece would work much better if it were slightly larger. Or, you could find a way to minimize fabric waste by altering the cutting measurements downward for a particular piece.
On the Southern Rhapsody quilt we just finished, I discovered that one of the large triangle pieces would have worked much better had it been a little larger. I also discovered that taking the time to make a tiny dot on the reverse side of the pattern helped tremendously with fabric placement when working with those tiny slivers of fabric.
After that is done I make a "kit" for each block. The kit contains the patterns and all the pre-cut fabrics for that block. I also take the time to use a straight edge to pre-fold the patterns, and arrange the fabrics out in the order they will be used.
I know this is a lot of "pre-work" but it's organization-type work that I can do while watching TV. On the back end, though, when I'm ready I just grab a kit and sit down at the sewing machine and sew. Because foundation paper piecing requires that the pieces be sewn in a specific order, I find that the pre-work/organization helps to avoid mistakes later.
I set my machine stitch length to 1.2-1.3 and keep my fingeres crossed that no seams have to be ripped out.
The star centers have a tendency to be very thick, so I press these seams open - even then, they are very thick.
Removing the foundation paper once the quilt is assembled can be a bit tendious, but I don't strip a gear if every single little tiny piece of paper is not removed. I remove the big chunks, use tweezers to remove as much as possible, then know that only the machine quilter and myself will know there may be some little bits of paper in that quilt sandwich. It's a good in-front-of-the-TV type of task.
I actually have two lap-size foundation paper piecing projects going - this one, and one that will look like sunbursts. Tomorrow I will sew the first block for it, then assemble the kits. Will try to get a photo posted as soon as possible. And will keep you posted on how this project progresses.

The Noon Whistle

Today I had the delightful honor and privilege of working at my friend's quilt shop while she attended a quilt show in Wilmington. Her quilt shop is Cotton Fields in Washington, NC. It's one of my favorite places! Her kitty cats kept me company and I spent the day happily cutting fabrics for 2 clutch purses and 4 quilts. It was a great way to spend my Saturday. Her shop is located next door to the volunteer fire department for our area and at noon, sharp, the noon whistle sounded. I work 20 miles away so I don't get to hear that comforting and trusted sound except on the weekends. I don't know if the noon whistle is a small-town thing, a southern thing, or what. But a part of me hopes it is a tradition that never dies.

What A Ham!

Charleston loves to pose for the camera. He makes me laugh every single day. He doesn't make the cat laugh everyday, though! If it's possible to give a cat gray hair, Charleston does just that.

Friday, June 25, 2010

Funky Junk Interiors

Please take a few moments to visit this blog - www.funkyjunkinteriors.blogspot.com - Tonight's blog posting includes some great ideas of what to do with old doors, from making a daybed to using a door as, well, a door! It also includes links to home decor ideas and crafting ideas.

Frugal Friday party link

http://shabbynest.blogspot.com

There are so many fabulous ideas from talented people in this blog. Last week there were 160 entries!

Thursday, June 24, 2010

Red Clutch Purse

This clutch purse was a project featured on the Martha Stewart show. The design is by Upstyle (www.upstyle.etsy.com) and is called the Make-It-Yourself Clutch. Upstyle sells the frames and directions in their etsy shop.

The very day I saw this on the MS show, I ordered 3 frames ($15 each plus shipping) and received them via US Mail in 4 days. I also went to a local home fabrics store and purchased the red/white dot fabric - 1/2 yard for $6 and that will be enough to easily make all 3 clutches and have some scraps leftover for another fun project. Other supplies include heavy fusible interfacing, fusible fleece, a lining fabric, and basic sewing/crafting supplies.

The directions were very good, but there is also a video you can watch on the MS website - it is well worth your time to watch it if you decide to make this clutch.

On my first attempt, which was very successful, I made this clutch in less than an hour. I plan to use it tomorrow. I added the little frog brooch for some bling just because I like bling.

I will buy additional frames to have on on so I can make these for quickie gifts.

If you wanted to make a number of these for gifts, it would be super easy to set up "assembly line" style and would go even faster.

I give this project two big thumbs up! I was not contacted by Upstyle to write a review. I purchased the frames; they were not given to me. This is a totally independent review.

A Party Link - Ideas under $100

http://bec4-beyondthepicketfence.blogspot.com

The links in this blog are to projects that cost $100 or less.

My table runner in my previous post, for instance, is made of scraps so it cost virtually nothing. And since I've made it so many times, I have it down to a science and can make the whole project, including the binding, in less than 3 hours. It makes a delightful gift.

Wednesday, June 23, 2010

Easy Reversible Table Runner

Tonight I've linked this project to: www.shabbychiccottage.net

I've made this table runner at least 8 times using different fabrics. The design itself is very simple and it's a quilt-as-you-go project so it goes super fast. However, the use of fabrics can make it very striking. Of course I've made it for holidays - Thanksgiving on one side and Christmas on the other. But this past weekend my mother asked me to make her a table runner for summer.


Here it is. I love it and am hoping I have enough fabrics leftover to make one for myself! ;)


This design is by Karen Montgomery and the pattern is sold by The Quilt Company (412) 487-9532.

A Link Party - My first one

Hope I did it right.

Linked to a party at: www.somedaycrafts.blogspot.com

Lots of fabulous ideas on that website, plus she has giveaways all the time.

Wild Flour Bakery

I think I've mentioned that besides naming my house, The Burrow, I'm also naming the rooms in my house. The kitchen is Wild Flour Bakery and after the little kitchen remodeling job I made this sign for it. Hmmm ... maybe I have too much time on my hands? No way.

Next I'll do a sign for my bedroom which will be The Hen House. And the main floor bathroom which will be called The Poop Deck.

And the sunroom which is The Sunset Lounge because not only can I watch the sunset from the room, but since the bar is in that room I can also have a drink - the best part is that I don't have to pay for the individual drink and don't have to drive home.

Sunday, June 20, 2010

Red & White Quilted Centerpiece for Table

This originally started out as a prototype for a quilt my cousin and I plan to make for my cousin, Ernie. After the complicated quilt we just finished for my sister, Shelley, we decided that "simplicity" needed to be the theme for the next quilt. His favorite color is red. So I played around with some white and red & white fabrics I had to make a simple pinwheel design. Patricia loves the design, so we're going with it, with a few tweaks. First, I didn't have enough of these fabrics to make a full quilt so we've purchased more fabrics (oh darn! had to buy more fabric!). We also have decided the red & white fans will be made using fabrics that go from more white than red to more red than white, to hopefully show off the pinwheel design more. However, this prototype was left over. Fortunately, my kitchen and dining area is red & white, so I machine quilted it, added the red binding, and have it on my dining table as a quasi-table runner.

The Bandana Quilt Sandwich


With my puppy's help (yeah, right), I put together the bandana quilt sandwich this morning. It is now ready to hand-tie. I plan to use red, white, and blue embroidery thread for tying - will use the print design on the bandanas as a guide for where to tie.

I have to tell you, this turned out to be much, MUCH larger than I had envisioned - but I love it. It took up most of my living room floor space this morning as I assembled the sandwich.
Doesn't it look like a "happy" quilt? I plan to name it "American Life". It will be a quilt I leave out in my living room year-round for anyone to grab and cuddle with whenever they feel a little chill, or just need some extra comfort.
My favorite quilt shop, Cotton Fields on Wharton Station Road in Washington, NC (she has a great website and you can order fabrics online!), is just starting to receive their holiday fabrics. They have the most unusual black/white/silver Christmas bird print fabric. I bought 2 yards yesterday but will probably buy 2 more yards because a little idea of what to do with this fabric is starting to form in my mind ... a fussy cutting idea because the birds are just too pretty and cute.
That's usually how I design a quilt - I buy the fabric then let the fabric guide the design process.
Can you believe that in this intense summer heat it's already time to start thinking about holiday projects? Yep, that's right. If you make any or all of your holiday gifts and decorating items, now is the time to get started.

Saturday, June 19, 2010

So Many Projects ... So Little Time!

Sometimes I just have to stop and make a list of everything I want to do, just to sort it out in my mind. My quilting projects list includes 11 projects that are either in process, or I have the pattern and fabric in my house.


Then I have a list of 10 additional projects that are just crafting-or-something-I-want-to-do-around-the-house type of projects.

I have a craft room. Depending on how it looks, I refer to it as the cat/craft/crap room. Tonight the cat was in my bedroom snoozing, so tonight it's my craft/cat/crap room. Earlier this week I was tossing stuff in this room to hide it during the graduation party, so that day it was my crap/cat/craft room. You get the picture. The center of the room is a huge cutting board that is actually a door on a table. One side is a large cutting board. The other side is a huge ironing surface.


But, I actually have projects all over my house ... my dining room is masquerading as a sewing room these days because my mother and I are sewing together and there isn't enough room in my craft/cat/crap room for two women and two sewing machines and two big quilts.


My living room is a "holding zone" for two projects - the bandana quilt that is ready to be made into a quilt sandwich for hand-tying is patiently lying over the back of a chair.


And a quilt prototype that will end up being a tablerunner of sorts - more like a big hot mat for my dining room table - it's ready for simple machine quilting - is draped over the back of my sofa.


As I listed all my current projects or near-future projects, I was reminded again how truly driven I am to create things in my life. It's what makes me happy.


I hope you are doing whatever it is that makes you happy.

Friday, June 18, 2010

Thursday, June 17, 2010

Quilt Top In An Evening


A couple of weeks ago I saw, on one of the many crafting and decorating blogs I enjoy reading daily, a tablecloth that was made out of bandanas. That project has stuck in my mind and I was itching to try it as a quilt top. So here it is. I have looked and looked for that blog so I could give that blogger credit but so far have been unable to find it. I'll keep looking, though.
This went together so quickly. I bought the bandanas from Michael's - have about $30 in them. Tomorrow I'll go by Hancock's and see about picking up some kind of fun 4th of July fabric for a border, along with inexpensive batting and backing. Typically I don't go the inexpensive route for my quilting supplies, but this is a "down & dirty" fast quilt and is meant to be on the inexpensive side. I'm also going to try my hand at hand-tying on this quilt as I've never done a hand-tied quilt.
So there you have it - a very fast quilt top that went together in less than 2 hours, including interruptions. This same idea could be done with some very good quality and fun "can't cut that" fabrics - maybe fussy cut a fabric to highlight a beautiful flower or scene.
This was a fun and fast project. A quick diversion during the evening.

Wednesday, June 16, 2010

Graduation Party!

My son graduates from high school today.

Good grief.

While at times I wondered if we'd make it through his public school career, today I'm wondering how the time went by so quickly.

Of course, this calls for a party! A lunch time party since so many family members were going to be driving through my hood at that time anyway. Some grown-up food but mostly fun food because, after all, it's his party.


And twice, in as many weeks, the new kitchen countertop space has come in handy for partying. Actually, I use it every day and now wonder how I managed in the kitchen without it. I did add the "Wild Flour Bakery" sign but otherwise am happy with the way I set it up originally. That's unusual. Typically it takes me some time to "move into" a new space, but not this time.

I'm proud of my son and hope he enjoys his college years (not too much, though).

Sunday, June 13, 2010

Spring Cleaning!

No photo with this post - just an observation ... this weekend I pressure washed my house and guess what I found? My RED brick front steps that were hidden under the greenish mold that gradually forms and seems to go unnoticed until it's washed away. Every time this happens I promise myself that I will be more observant and will not let the steps get in that bad condition again. And every time it sneaks up on me again. Oh well ...

Saturday, June 12, 2010

The Blue & White Quilt in Photo for my Previous Posting

This quilt was soooooooo easy to make. Honestly, it took longer to choose the fabrics than it did to make the quilt top. It's a gi-normous log cabin block. All I had to do was cut wide strips and sew them together. I even used the scraps from all the various blue & white fabrics to make the binding.

So, why did I decide to make such an easy quilt top? Because this is the quilt that stays on my bed most of the time. My cat also stays on my bed most of the time. And my cat sheds most of the time. Occasionally my cat (darn him) decides to leave me an icky hair ball as a present. So I wanted a durable quilt that I wouldn't worry about tossing in the washing machine and dryer.

After making the quilt top, I took it to Lilly Lucier (machine quilter, Vanceboro, NC) and told her how the quilt would be used and asked her to choose an appropriate machine quilting pattern. She selected a rather dense pattern that has held up very well to numerous washings. I don't remember the quilt pattern name, but it's an elongated vining design (very girlie!). The batting is a very thin wool and it feels wonderful, even in summer.

I named this quilt "Blue Chic"; the label is a mini version of the quilt top. It's so very simple, yet it's one of my favorite quilts. I also made a cover for my bed bench using the same fabrics, as well as over-sized pillows.

See? Quilt designs don't have to be elaborate or complicated to be lovely.

Friday, June 11, 2010

Old Mantle as a Headboard

I totally love this headboard. A fella at work had several from an old family house that was torn down. My sister and I each bought one. It was naturally distressed so I left it just that way; all I did was clean it up. I love displaying my collection of Indiana Glass Company Hens on a Nest, and some of my bunny salt dips. I've since added a horizontal mirror over the headboard.

Wednesday, June 9, 2010

Gorgeous Hydrangeas


Look at my cousin's gorgeous hydrangeas. They don't need any words.

Tuesday, June 8, 2010

Southern Rhapsody


My sister corrected me on the title of the quilt. Had a fabulous trip to GA. My cousin and I finished the quilt top. Now all that's left to do is remove the foundation paper backing, get it to the machine quilter, then bind and label it.


My cousin's garden is spectacular. They have a beautiful place and their garden is especially bountiful this year because the rain has been just right so far. She said the garden will work them to death between now and the end of August/beginning of September but this autumn and winter it will be worth every second of the work they are putting into it now. I believe it.


We went antiquing in Milledgeville - so me, the junk shop in this photo is the perfect junk shop - exactly what a junk shop should look like. I could have meandered through this shop all day long. Then on the way back to her house we passed a sign for an estate sale - screeech! ... as the brakes were slammed and we made a fast left turn into the neighborhood. Estate sales are bittersweet to me. But this lady obviously enjoyed sewing so I bought some fabric and lace remnants. I know somewhere she is probably smiling that a fellow sewing enthusiast bought these items and will put them to use.

Wednesday, June 2, 2010

Southern Rapture


Southern Rapture will be the name of this quilt. It has been quite a project but it's coming to a close. My cousin and I are making this quilt together - no small feat since she lives in GA and I live in NC. We chose a foundation paper pieced pattern because she had never made anything using that technique. I happen to enjoy the foundation paper piecing technique. So, Patricia chose the "California" star from Carol Doak's book on the 50 stars for the 50 states; I chose the fabrics - we were off and running. We each made 18 blocks - 35 blocks make up the quilt top and 1 will be used as the label. Let's do some simple math - there are 96 pieces in each block x 35 blocks = 3,360 pieces plus the border and binding.


Wow!


It's been a challenge but worth it because I think it has turned out to be simply beautiful.


We're making this quilt for my sister, Shelley.


This weekend I'm taking my half of the quilt to Patricia's and we are going to finish the quilt top together. This time next week it will be safely entrusted into the hands of a spectacular machine quilter - Lilly Lucier in Vanceboro, NC. Lilly will get the quilt back to me in about 3 weeks, then I'll sew on the binding and the label and we will close the chapter on this quilt.


The next quilt we make together will be for Patricia's brother, Ernie. We've elected to do a much, much simpler pinwheel design ... only 8 pieces in each block. And we're going to make it in a monochromatic color scheme. But, you know what? It will be just as lovely. Because in the border we plan to applique the handprints of all of Ernie's children and grandchildren to personalize the quilt just for him.